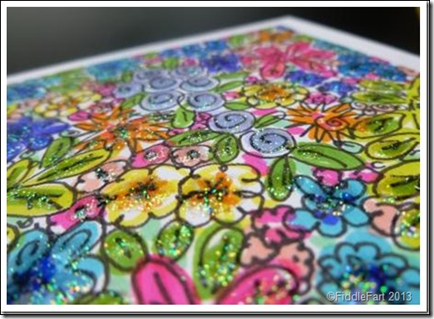
Tuesday 30 April 2013

Such Exciting News …….

I have been keeping a really big secret for such a long time, but couldn’t say a dickie bird until a certain envelope had officially plopped onto my sister Jan’s door mat!!!!
Picture18
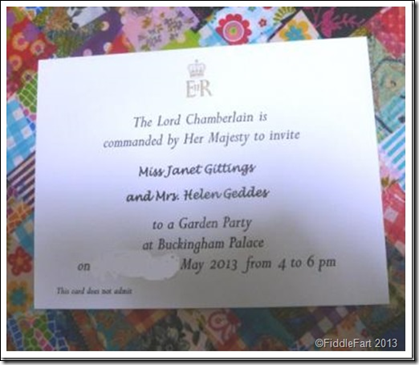
………. We’re only off to a Garden Party at Buckingham Palace !!!! The invite has come about through Jan’s work with the British Olympic Association last year ….. and my goodness what a year she’s had;  helping to kit Team GB out before The Games, followed by working at both the Olympic and Paralympic Games in the summer, then meeting Prince Charles and Camilla at Clarence House, and David Cameron at 10 Downing Street,  when we thought it was all over and now this …… (Although, you will remember I had my own Olympic moment too when I met chased after Alistair Campbell shamelessly at the Olympic Park!)……… Anyway, I am thrilled to have been invited as Jan’s guest and am sooooooooooooooo excited …. I think I might burst!
Picture19
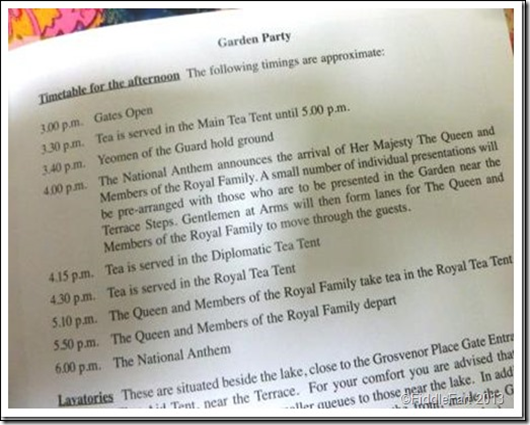
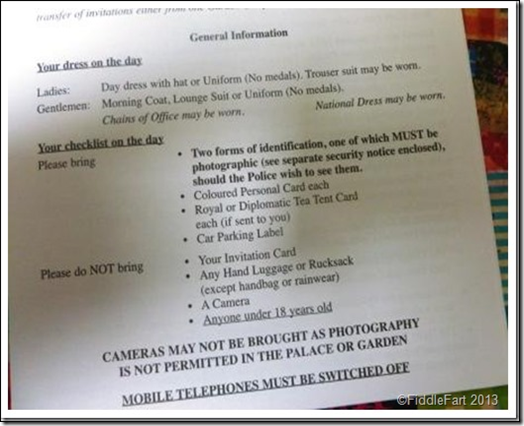
We have a lot of bumf to read through ….. but unfortunately,  as you can see, it clearly states that cameras cannot be taken in …. and as a blogger that’s like having my arm chopped off, however,  I cannot risk been flung into the Tower of London and I am sure there will be lots of other photo opportunities outside the Palace and while we are in London that will help fill a post when the time comes to write about our adventures.We have both had our outfits for a few weeks now  ….. although I need to get some strappy shoes and a handbag (big enough for a very small monkey!!!!)
Picture20
……. It will be a day when I know we will both drink in every single second,  because days like this don’t come along very often ….. and I appreciate just how honoured I am to be part of it.
Monday 29 April 2013

Bird On Wire Tags

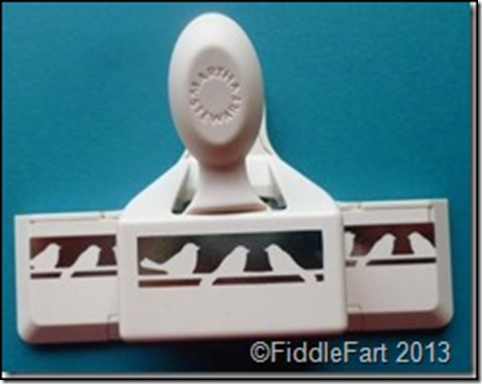
I haven’t treated myself to anything of a crafty type nature for ages,  but recently decided to have a bit of a splurge …… the first thing I bought was the Martha Stewart “Bird on Wire” edge punch
Birds on a wite tags
At the moment I am rubbish at punching a long edge, but there again, I am not very patient.  A single punchie is small, but perfect for tags and small cards …. but I know it will be a punch that will be used over and over again, I am already thinking Christmas …. and punching them out in brown for robins!
Picture16
Which brings me to the tags, made using Kraft card and scraps of Papermania Bookprint papers  …… I know I am very guilty of wasting a lot of card when I cut card blanks ……
Picture17
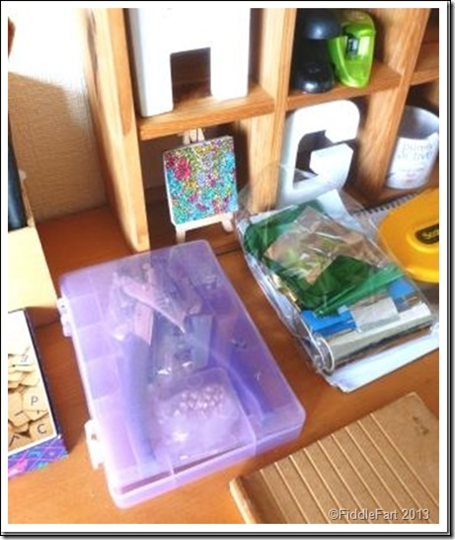
…… but,  I am now keeping my much under used Cropodile permanently on my desk,  and making a concerted effort to get at least two tags from the remnants of each card I make …. and then when I have a whole pile of them will send them to the local charity shop or RNLI.

Sunday 28 April 2013

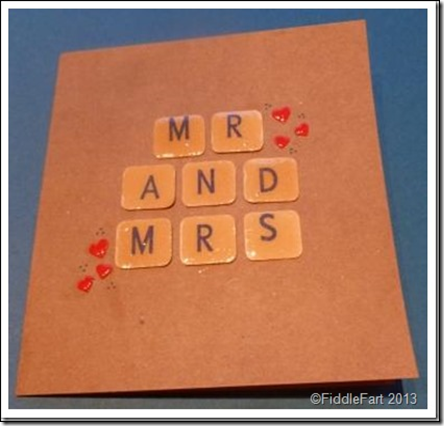
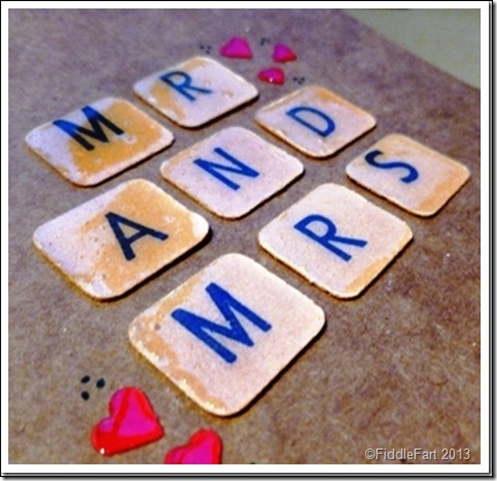
Mr and Mrs Wedding Card

This card measures 5ins x 5ins and used a hand cut blank made from Kraft card.
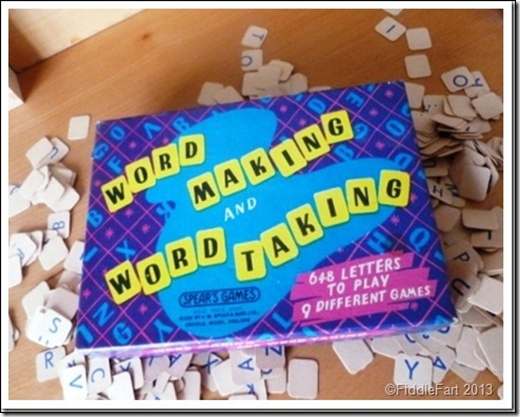
Mr and Mrs Wedding CardToday is another FiddleFart less is more card! The letters came from a game bought at the village Easter Fair for just 50p, for 648 letters that’s brilliant value for money.I like that the letters give the card a naive “shabby chic”, natural look.
Picture22Once they were centred and balanced, all I needed to do then was add a few small punched hearts and a layer of Ranger Glossy Accents to add dimension and a little glitz, simples!
Mr and Mrs Wedding Card 1

Saturday 27 April 2013

Memory Box–Arboscello Tree Die Card

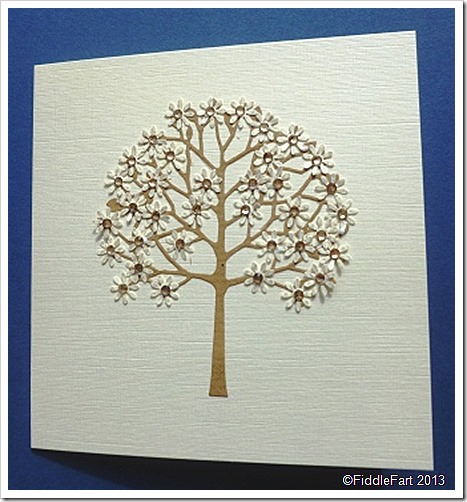
This card measures 5ins x 5ins and is made using a hand cut ivory linen effect card.
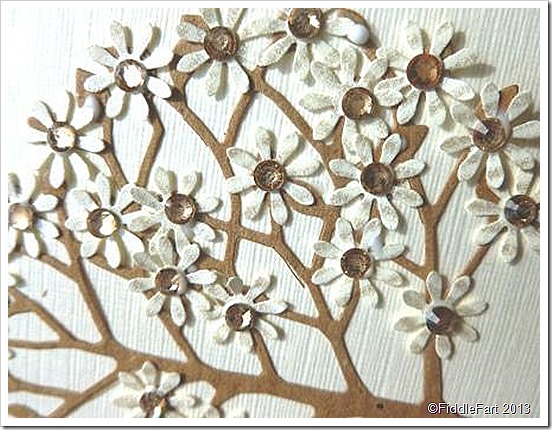
Memory Box Arboscello Tree DieThis is the card I made for my sister’s birthday after she saw the multi-coloured one I made for my mum for Mother’s Day.  I have kept the colours very neutral, loving the beigey coloured flat backed gems in the centre of the punched flowers made using my Papermania 1cm daisy punch.
Arbrocello Tree Die Memory BoxThe die is by Memory Box – Arboscello Tree No. 98155, which I really must return to Marc.  I have just ordered my own as this is a die that has so many uses ….. I am already thinking Christmas ……

Thursday 25 April 2013

Wedding Favour Boxes For Tom and The Lovely Laura.

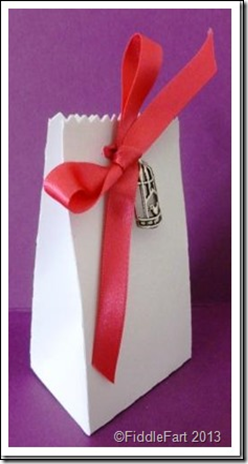
wedding Favour Box with bird cage embellishment.1wedding Favour Box with bird cage embellishment
You may remember that the Equally Lovely Denise, Mother of the Bride (and The Lovely Laura) made a huge box of gorgeous glass beaded bracelets a few weeks ago to give to all the ladies at the forthcoming nuptials as wedding favours ….  well ....   after that we were stumped as to how to present/wrap them …. aghhhhh, what more wedding fiddlefart do I hear you cry???
Picture35
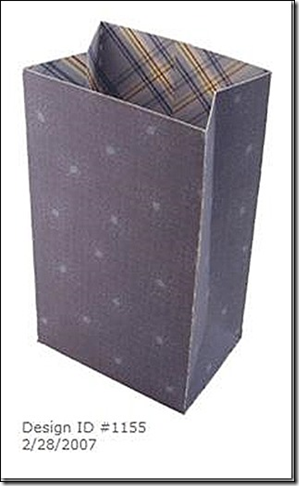
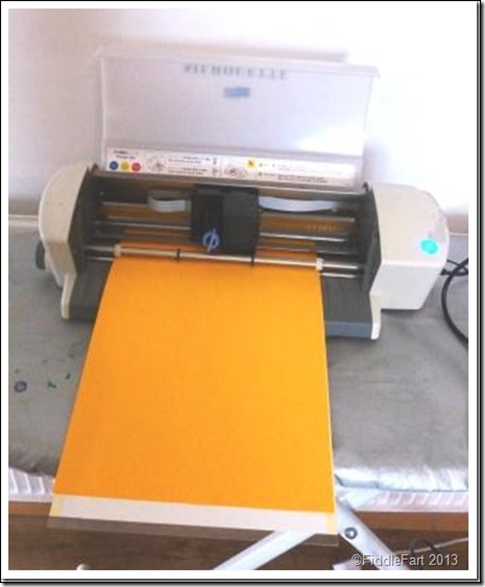
I gave it an awful lot of thought, (most of it lazy, looking for the easy optition),  but in the end I knew the inevitable had to happen and I would have to dig out my old Silhouette machine that hasn’t seen the light of day for well over two years ….. as I knew that I had the perfect template to make the favour boxes …. http://www.silhouetteonlinestore.com/?page=home
Picture36
….. only trouble was, I had completely forgotten how to use the blessed thing ….. however, I persevered … and the template, altered to the size I needed,  cut perfectly first time!
wedding Favour Box with bird cage embellishment.2wedding Favour Box with bird cage embellishment.3
I glued the bags/boxes together, pinked across the top and punched two holes to thread the ribbon through,  attaching a charm to the bow as I tied it,  simples ….. and at minimum cost …. to wit one pack of 140gsm white card for 99p from The Works! Marc had given me the charms as a present a while back and the ribbon is surplus to the Lovely Laura’s wedding requirements  …. Each favour box will have a mix match of one of the ten rainbow coloured ribbons and a brass or silver charm ….. done and dusted! Bring on those wedding bells!!

Wednesday 24 April 2013

Doodled Flower Card

This card measures 5.5ins x 5.5ins and is made using a hand cut blank in white linen effect card.
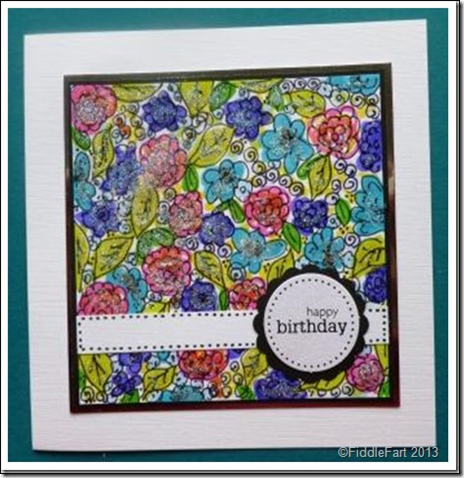
Doodled Flower Birthday CardAnother one of my “hand doodled” flower cards today. I did sprinkle it with a little Hunkydory Butterfly Trails micro glitter which loves lovely in “real life”, but in the picture looks distinctly globby …. sorry!
The sentiment circle comes from Craftwork Cards.
http://www.craftworkcards.co.uk/products/by-category/2/20/sentiments.html

Monday 22 April 2013

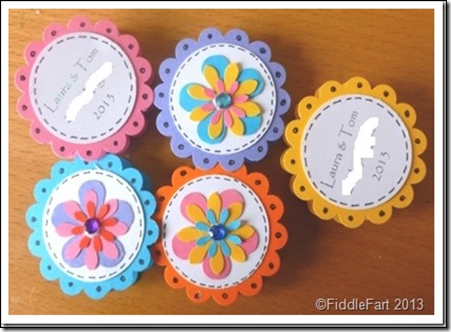
Foil It - Crafting Frustrations And A Steep Learning Curve Doing Tom and Laura’s Wedding Mints

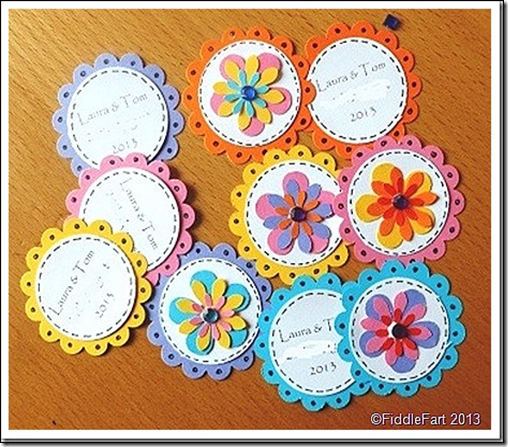
Oh my life……  you would think that I would have making Elizabeth Shaw Mint favours off pat by now,  but making them for Tom and The Lovely Laura’s wedding tables has put me right off kilter …..
Picture39
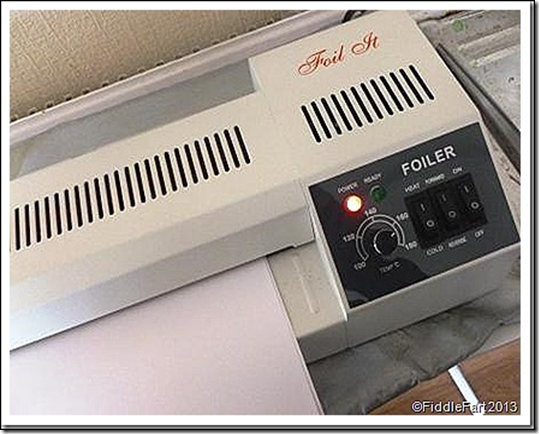
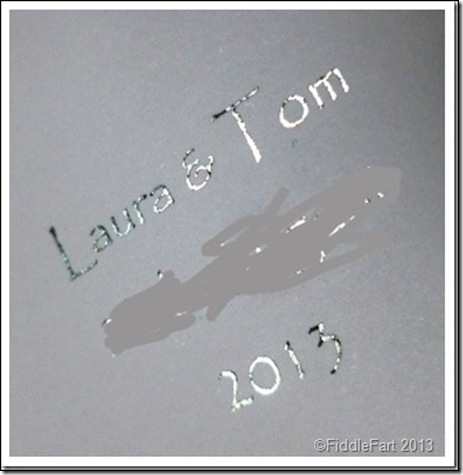
As you may remember, I bought a Foil It machine after playing with Marc’s back in February, but in truth after the initial excitement of just trying it out on a couple of things I haven’t used it for a “proper” project,  that was until I decided that the wedding mints ought to have Tom and Laura’s names and the wedding date on the back …..  in silver!
foil It
Well …..  I had done the printed sheets ages ago and yesterday was the day I decided to get them foiled …… and that’s where my frustrations began, and it was all my own fault, because I am admittedly a bit of a bodger and have a terrible habit of not reading instruction leaflets properly …..
Firstly, I put the Foil It on way too high which resulted in the paper wrinkling, I now know that  the key to perfect foiling is the temperature,  which, for the materials I was using (140gsm card) is bang on 140. I also learned that as soon as the paper I was using as a carrier sheet for the card showed any sign of a crease I should stop using it and get a fresh piece,  as the creases go through to the sheet being foiled.
Foil It 1
I had assumed that the foil could be used again (perhaps it can???),  but I found that if I did,  it left residue ….. so as a result I had to change my original printed sheets, still getting sixteen “toppers” per sheet but moving them much closer together to the centre to minimise wastage of foil …… This must sound soooooooo long winded, but I also found that it I tried to get more “toppers” per a sheet by foiling one side at a time the card tended to wrinkle second time through, if that makes sense?
foil It 3
So this simple stage of the “mint production” process took me much longer than I had anticipated, but it did teach me a lot about using the Foil It ….. which,  as with most tools,  is how you get to fully understand them.
The rest of putting the mints together should be a doddle ….. because after a short break the “Wedding Crafters Club” are getting back together, chez moi,  on a Wednesday night to start putting all the other wedding paraphernalia together …………. and….  after the mints cometh the bunting!
For reasons of security I think it’s best to remove the date of wedding from all pictures!

Saturday 20 April 2013

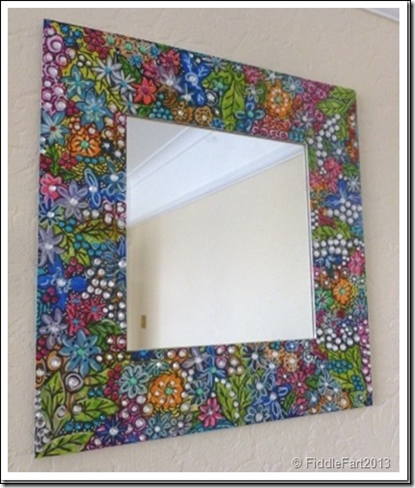
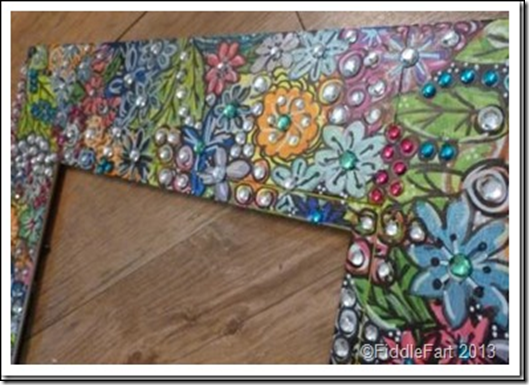
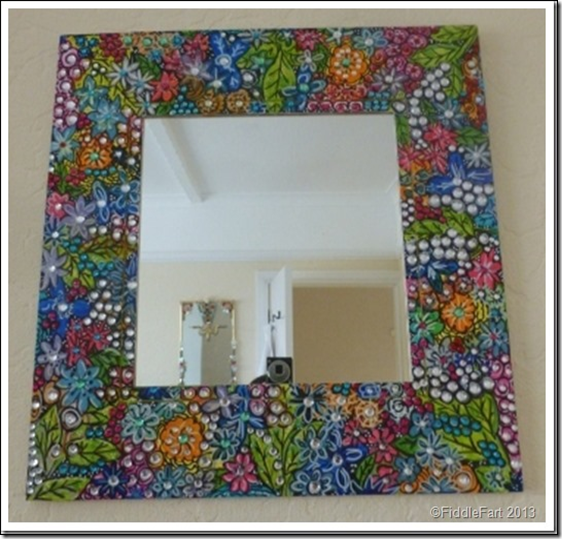
Wooooo Hoooo ….. My Altered Mirror Is Finally Complete …..

Handpainted jewelled mirrorI have been working hard on my altered mirror, and woo hoo, it’s finally finished. Below is how it looked last time you saw it ….
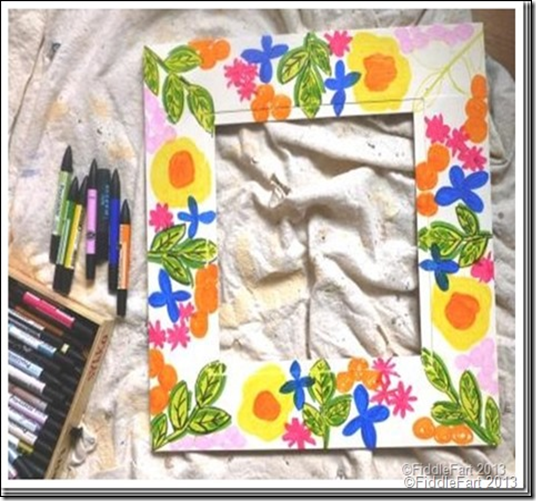
Picture151I have to admit at this stage I wasn’t sure if it would look right,  I had gone into it very all guns blazing,  without any real planning and frankly it looked “basic” …. however, I don’t like to give up.  But even now it’s done, I question if it was the  “best” use of my Promarker pens, quite a lot of them were on their last legs though, so perhaps it’s time I treated myself to a couple of new sets …. so if anyone knows where I can get some cheap????
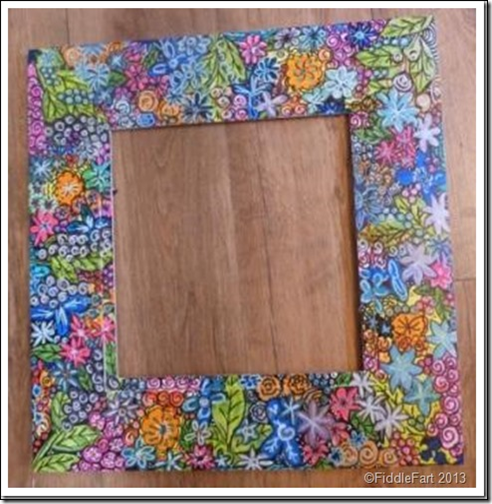
Handpainted jewelled mirror 3……This is how far I got before deciding that I shouldn’t do anymore until I had invested in a couple of new permanent black pens, the emulsion paint was good base for the colours, but it didn’t half dry the nibs of the black pens I already had.
Handpainted jewelled mirror 5Handpainted jewelled mirror 4
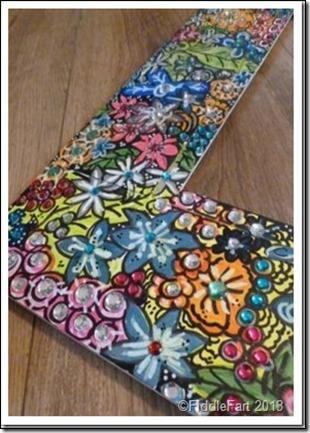
And then ……  I took the risk of spoiling it all …. by adding great clusters of pink, turquoise and clear flat backed gems …..
Handpainted jewelled mirror 6
….. but,  I think the risk paid off as it does look stunning,  if I may say so myself, but not everybody’s cup of tea I know. 
Handpainted jewelled mirror 7
The photos just don’t really do it justice ….. because in the right light the gems are sooooo, sooooo  sparkly.  I am dead chuffed ….. only problem is …. I don’t have anywhere to hang it now  …… doh!

Friday 19 April 2013

If Only I Dared ….

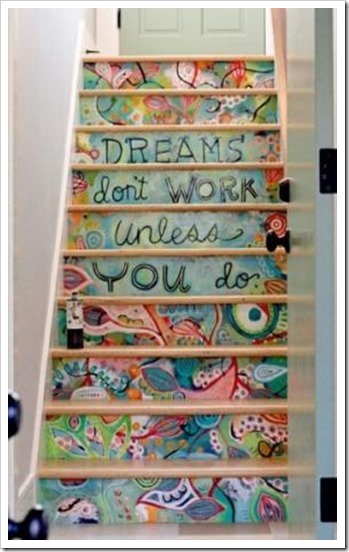
If I had a house that was a blank canvas  I could/would paint something        like this …
painted stairs.And as for this ……………
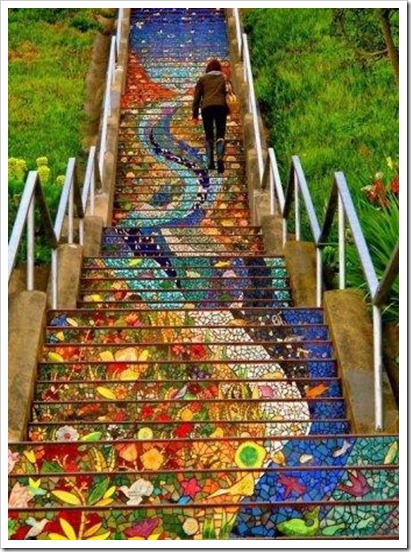
beautiful stairs……. stunning! It’s in San Francisco ….. I need to go!!!!
http://www.mymodernmet.com/profiles/blogs/16th-avenue-tiled-steps-san-francisco

Thursday 18 April 2013

Oppppps – Altered Mirror Disaster ……… But, A Work In Progress ….

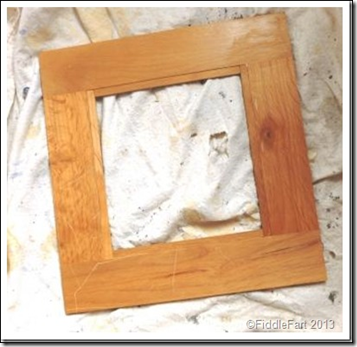
I got this 20ins x 20ins mirror from a charity shop a few weeks ago for £2.95, it was quite battered, but as I knew I was going to cover it more or less completely, it’s overall finish really didn’t matter.
altered mirror
However, when I removed the mirror from the frame ….. I only went and dropped it, shattering it, arrghhh ……. but fortuitously, I live next door to a glass shop, so a replacement piece shouldn’t be a problem.
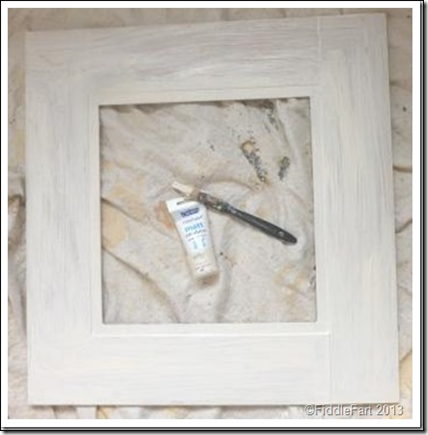
I gave the frame two coats of cream emulsion to make a base on which to build my colours on,  using a match pot type sample that I got for 10 for a £1 ages ago from a resource centre.
altered mirror 1
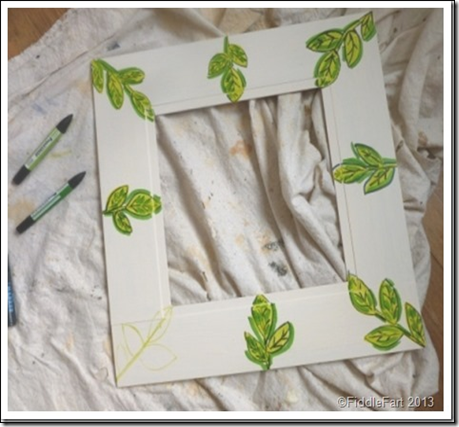
I planned to use Promarkers and other pens for the design, the Promarkers took to the painted base instantly and kept the colour …… but then,  I made a mistake ….. when I used an ordinary thick Berol marker pen to outline the leaves, the effect was decidedly shonky …. and I admit to wondering what had I done …. my idea ruined before I had barely got started, slightly crestfallen so I abandoned the project for an hour or so before going back. I decided to put a sample of both types of pen on the back of the frame to see if they would hold when varnished, as I suspected the Promarker held, but the Berol just “disappeared” ….. doh, doh, doh, doh, DOH!!! 
altered mirror 2
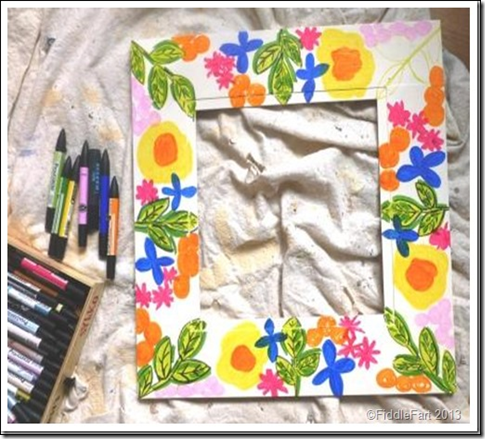
However ….. I found that the Berol on the front of the frame could almost all be removed with a damp cloth ….. so we are on target again. When I am next in town I plan to buy a couple of permanent black Sharpie pens, which also have a finer nib than the Berol which means that the outlines will be more accurate when I tackle them again ….. phew, good thinking Batman!
altered mirror 3
Oh,  I forget to say at the beginning that my overall plan for the mirror,  once  coloured and outlined is to embellish it with lots of assorted flat backed gems …… but for now it’s a case of watch this space ….

Tuesday 16 April 2013

Limited Edition FiddleFart Mugs!

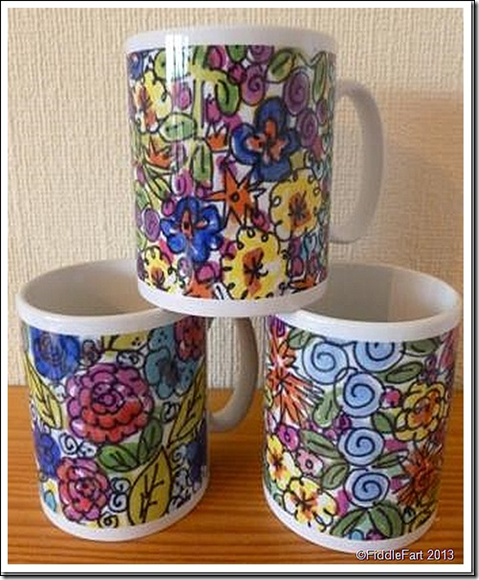
Well ……  I have some exciting news today ….  (well exciting for me, anyway)  …. I downloaded all six of my doodled flower designs to Asda Photo and am now the proud owner of a set of six very limited edition FiddleFart mugs!
fiddle faRT MUGS. 1
At the moment there is only one of each, but I think I will order more over the next few months as birthdays etc. arise.  They cost £5 each from http://asda-photo.co.uk/category/7-mugs
fiddle faRT MUGS

Sunday 14 April 2013

My “Oh Bum” Scrabble Shadow Box

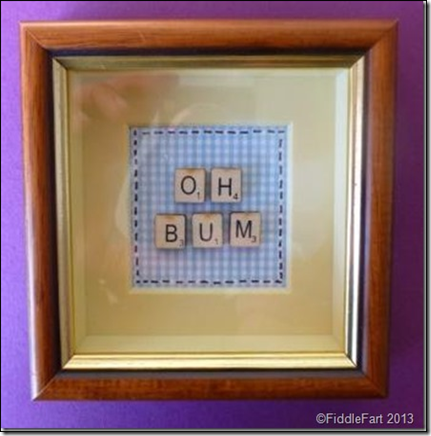
I made my “Oh Bum” shadow box …….
….. after  discovering that I already had the perfect shadow box frame for it squirrelled away in a box at the back of one of my craft room cupboards.
Oh Bum Scrabble letters shadow box
The frame measures just a shade under 4ins x 4ins.  There wasn’t a lot to putting it all together,  it was only centring of the letters that proved to be the fiddliest bit, I must have done it about six times before I was completely happy. 
…. And happy I am,  as it now sits on my desk ….. a reminder for me to refrain from using words of a stronger type nature when really …. “Oh Bum” is amply sufficient!!!!!!

Saturday 13 April 2013

Spring Is In The Air ….. At Last ….

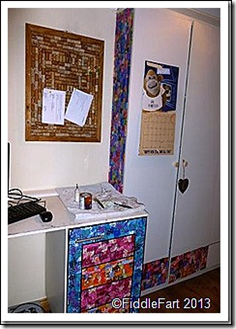
There is nothing like a bit of spring sunshine and days that are beginning to feel a touch warmer to bring a re-newed vigour to your spirits,  and so my enthusiasm to breathe more life, colour and interest into my newly decorated but very plain and unadorned magnolia craft room continues to gather apace – mostly due to the efforts of my brother Andrew for doing all the complicated bits that I can’t ….. and my sister Jan who has done all the fetching and carrying ……
craft room developmentsCraftroom Progress
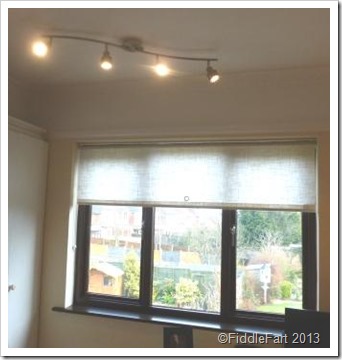
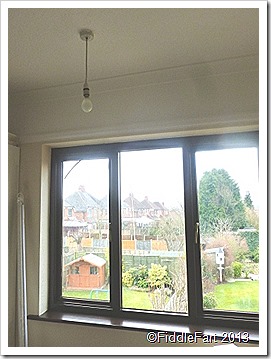
…. so I have gone from having a bare window with dodgy handles that I dare not open to a window that I can now open and close as the fancy takes me with a dead posh blind,  and from a single, bare bulb to a fitting with lots of lights that can be set at any angle…..
craftroom improvementsPicture2
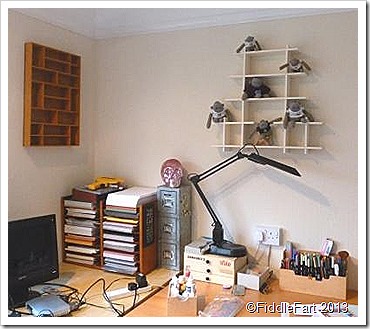
….. and walls from which now hang my what-not shelves,  that make the room say “me”.  I,  in turn have been busy sealing all the Decopatched cupboard doors etc. that I started at the beginning of the Easter holiday with quick drying varnish ….. so it’s all coming together.
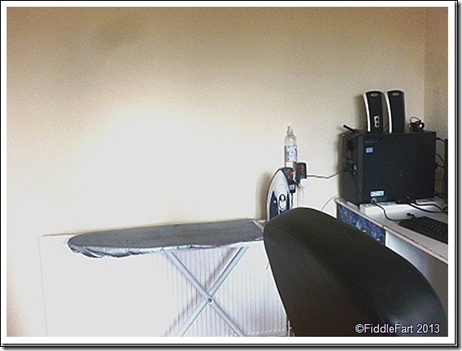
The next items on the improvement agenda are a couple of shelves for over the computer for my craft books and speakers,  and then …… another painting for over the radiator to give me something to look at while I am ironing …… I might be tempted to embellish this one with a few gems and small mirrors ….. but I’m not sure yet…… 
Picture3
…… So,  with this in mind I have ordered a pack of two Loxley standard depth 48" x 36" canvas’s from http://www.canvas-store.co.uk/ – (a little smaller than my original),  which worked out at roughly £20 each inc. P & P,  saving me an awful lot of money, when compared to other sites I looked at.  Admittedly I had to buy two for the price ….. but, as I had already decided to paint my mum something for her 80th birthday …. it was a no brainer! Watch this space …….

Thursday 11 April 2013

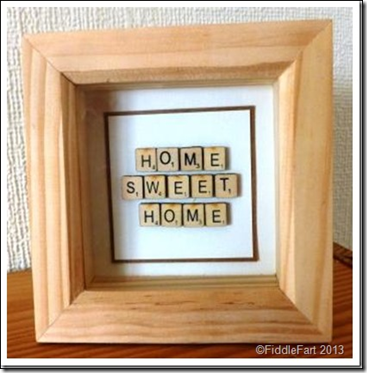
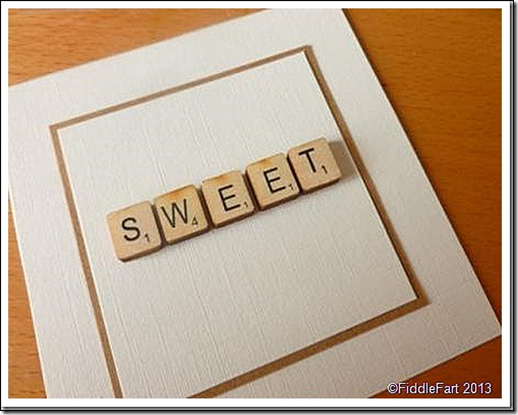
Home Sweet Home – Scrabble Letter Shadow Box Frame

I love the very simple effect you can get from scrabble letters.
I’ve had this 4.75ins x 4.75ins shadow box frame for years now, which most probably was a charity shop find, squirrelled away,  just waiting for the right project.
Home Sweet Home Scrabble Shadow box frame
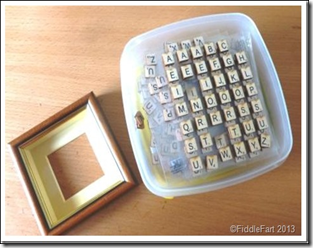
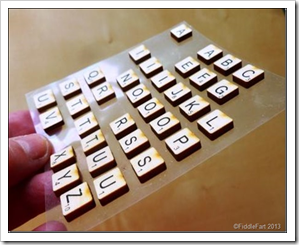
I have also had these self adhesive mini scrabble tiles - by Jolees/EK Success for years too, and I count them as one of my all time crafting treasures. There was a time when I would buy them whenever I saw them on e-bay and if I remember rightly,  quite a few came from the US.  However,  I am not sure they if they are still readily available anymore, I have done a quick Google search and I have found them on Amazon (US) and they were priced at $24.99 a packet (plus P & P) !!!!  Oh my life!!!! But I have also seen them on Etsy for between $4.99 and $6.99 , which isn’t quite so bad. Each tile measure 1cm x 1cm and you as you can see it’s their depth that make them so realistic and unbelievably cute!
Picture12Picture13
I started by mat and layering the background on ivory linen effect and Kraft card first and then began to place the letters, getting the first “e” in “sweet”  centred first, with the rest following, but it was sooooooo fiddly getting them spaced equally and square on …… but all the fiddle farting was worth it in the end.
Picture14
I have a few more small shadow boxes waiting to be used …. I just need some more ideas for words or phases I could use….. I’d rather like to put “Oh Bum” in one!!

Wednesday 10 April 2013

Purple Doodled Flower Card

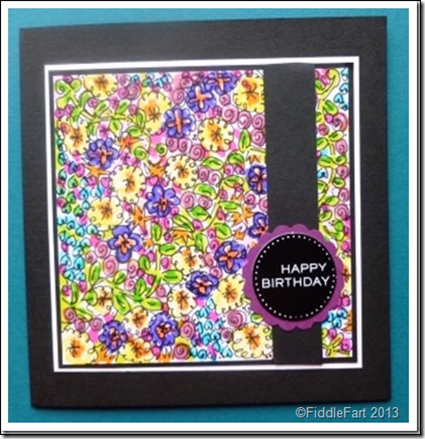
This card measures 5.5ins x 5.5ins and is made using a hand cut blank in a black coloured card and all the doodling is mine, drawn free hand and then coloured in.
Purple Flowers doodled card
The sentiment circle comes from Craftwork Cards.
http://www.craftworkcards.co.uk/products/by-category/2/20/sentiments.html

Doodled Flower Card

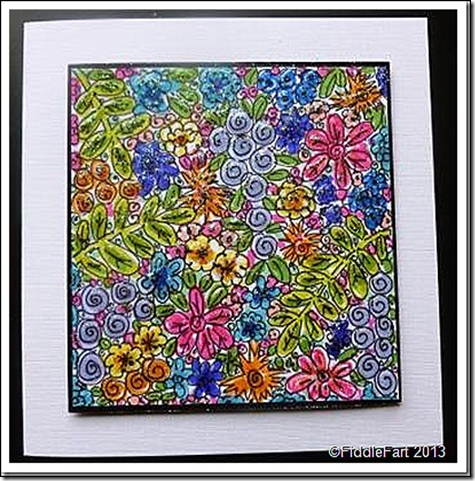
This card measures 5.5ins x 5.5ins and is a hand cut blank made using white linen effect card.
Doodled Flower Crad
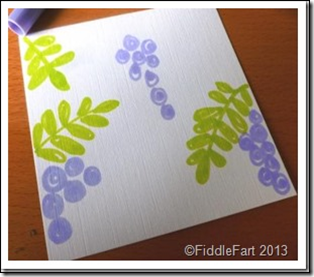
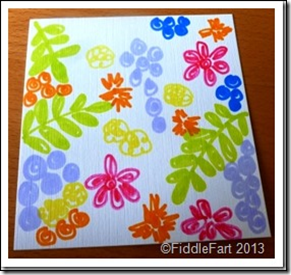
Flushed with the success of my canvas paintings, I wondered if I could create something similar to put on a card(s) using Promarker and other pens.
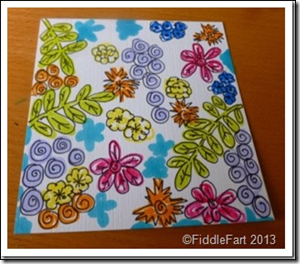
I started by cutting out a small 4ins x 4ins “canvas” and then just went for it. Like I did when I was painting, my large canvas, I just couldn’t help going over the rough flower shapes after only drawing a few with a black fine liner pen to see if I was going along the right line …. and if it would look like the idea in my head …. it did!
Picture5Picture6
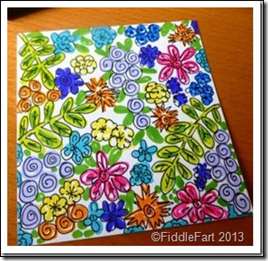
From then on I did a little at a time, doing a couple of basic flowers and leaves and then doodling over them , building the design up  until all the spaces were more or less filled in.
Picture7Picture8
When it was finally finished I mat and layer the design on black card …. after which I decided to play some more ….. praying that I wasn’t going to ruin something that I was already really happy with.  I added a little Rangers Glossy Accents to the design first in small blobs to add texture and dimension and then, while it was still wet ……(this is when I closed my eyes)  ….. I went the whole hog and sprinkled it all over with a light dusting of Hunkydory Angel Whispers …….
Doodled Flower card 2
Phew ….. as you can see, it turned out beautifully, if I say so myself, I am so chuffed! In the right light the design so sooooooo subtly twinkly, the photos just don't do it justice.