Monday 31 March 2014

Cadbury Miniature Bunny Chocolates

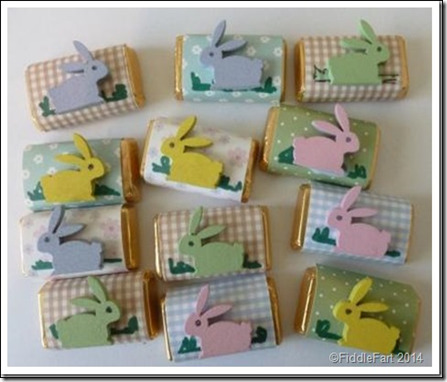
These chocolates are just a daft idea made for fun, perhaps a case of over egging (or bunnyising) a Cadbury miniature!!!!
Cadbury Miniature Easter Chocolates
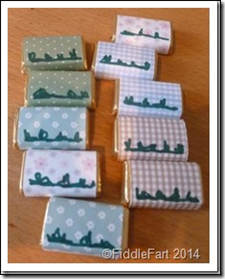
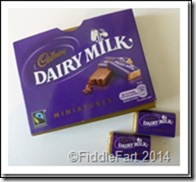
All I’ve done is cover a few Cadbury miniatures to make them look a bit more Eastery ….
Picture33Picture34Picture35
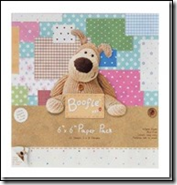
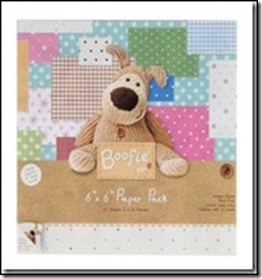
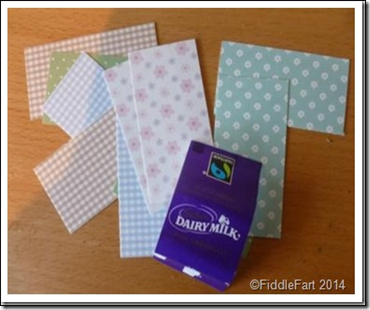
…… using a wrapper as a template,  I have cut new ones using scraps from Boofle  6 x 6 papers.
Cadbury Miniature Easter Chocolates.png1Cadbury Miniature Easter Chocolates.png2
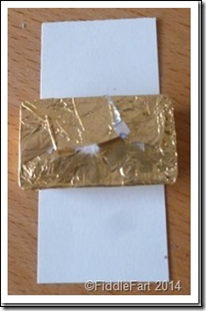
There’s a bit of an art to unwrapping the chocolates without damaging the foil …. but I got there in the end. I then “rolled” the chocolate in a new wrapper, sealing it with double sided tape at the end.
Cadbury Miniature Easter Chocolates.png4Cadbury Miniature Easter Chocolates.png6
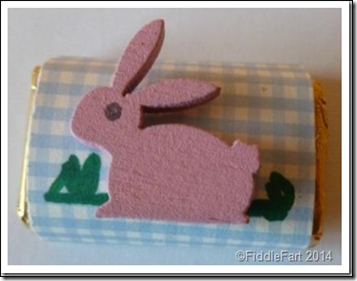
The final touch is a little doodled grass before adding the Easter bunny, done and dusted!

Monday 24 March 2014

Elizabeth Shaw Bunny Mint Favours

Come on, with Easter next on our crafting calendars did you really think I wouldn’t do something with my crafty confectionary staple Elizabeth Shaw mints?!!!!!!
Easter Bunny Mints
I try to stock up on the mints whenever see them in Home Bargains or B M Bargains at around £1.99 a box, especially as they always seem to have the milk chocolate ones, which are my personal favourite, dark chocolate is an acquired taste for me I am afraid. I know one day this source will more than likely dry up and then I will have to try and find them in the supermarkets for close on double the price, so I always check the “use by date” and then buy enough for a couple or three projects.
Picture34Picture35
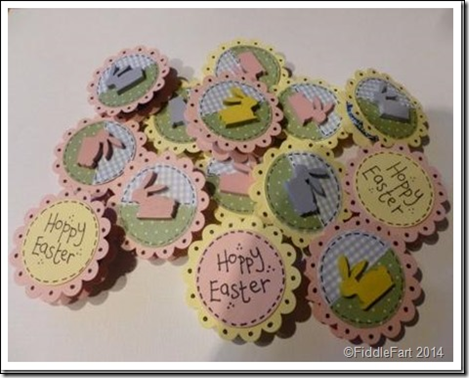
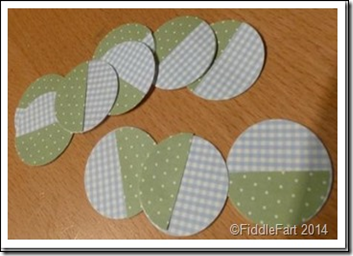
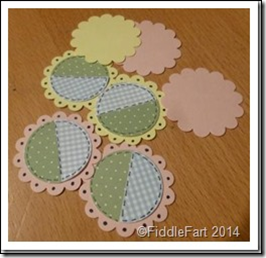
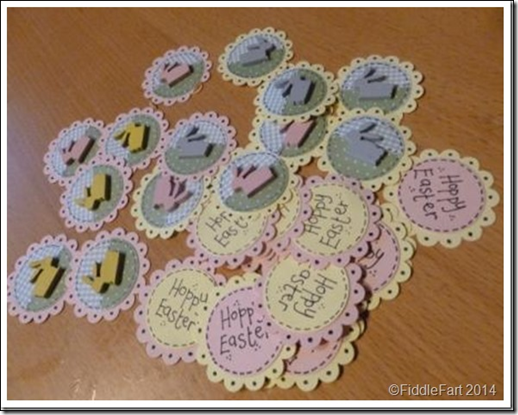
So, once more, I have got my old faithful, umpteen years old Stampin’ Up scalloped and plain circle out and got punching, in pink and yellow pastels for the outside, and Boofle 6” x 6” papers for the middle.
Easter Bunny Mints.png1Easter Bunny Mints 2
I am a fairly patient person ….. but after a while doing all the dots and faux stitching on both sides of the mints does begin to rankle and I just want to get them done!
Easter Bunny Mints 4
Then comes the writing bit, when I start just pray that I can get it pretty well centred first time, and not have to chuck too many in the bin to get them just right.
Easter Bunny Mints 3
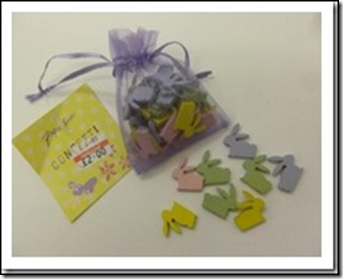
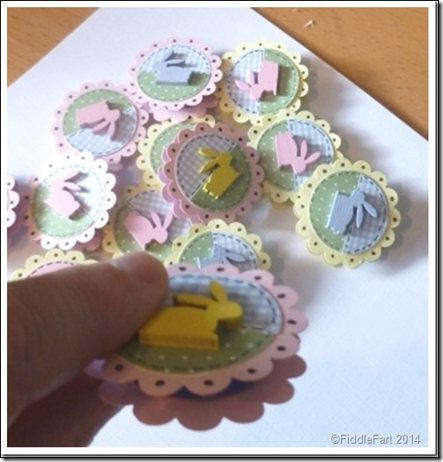
Then,  all I have to do is sandwich them altogether, using double-sided tape ….. I am not sure how I am going to package them up to give as presents at Easter ….. but I do have a few organza bags from way back when (…somewhere …..) that need using up!

Monday 17 March 2014

Nine Square Easter Bunny Card

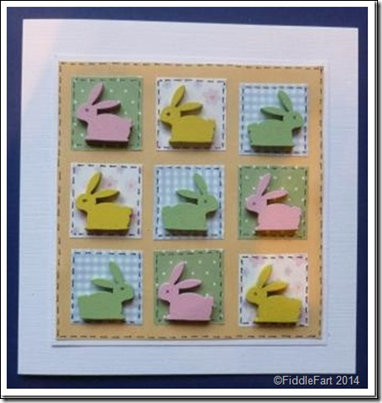
This card measures 5ins x 5ins and is made using a hand cut blank using a white linen effect card.
9 square Easter Bunny CardHow long has it been since I last made a nine square card???  Blinking years!!! However, the Paperchase wooden. confetti rabbits I found at a greatly reduced price a few weeks ago just screamed to be put on one!!
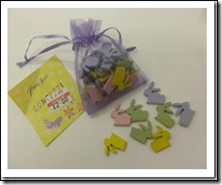
Picture34Picture35I matched them up with papers from a Boofle 6” x 6” paper pack, which are just perfect for Easter and spring cards.
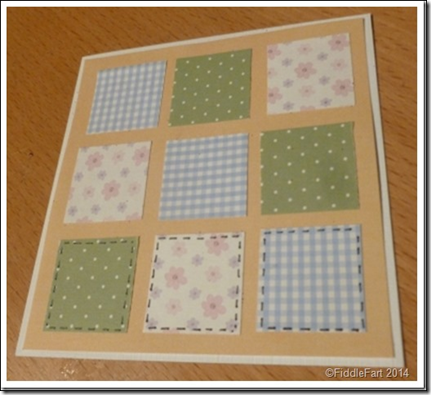
9 square Easter Bunny Card 1
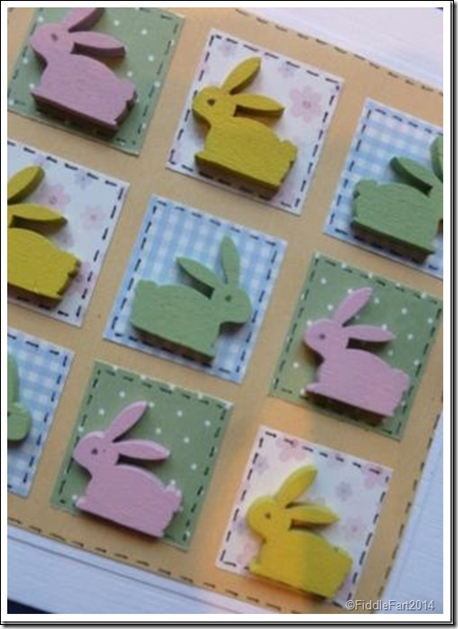
The squares measure 1in x 1ins and I have edged them and the main square with tiny faux stitching.
9 square Easter Bunny Card 2That’s it ….. all done and bunny hopping dusted!

Monday 10 March 2014

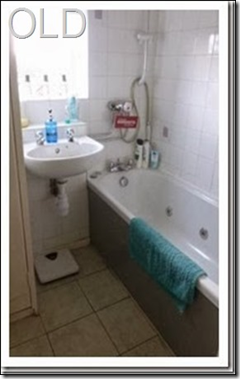
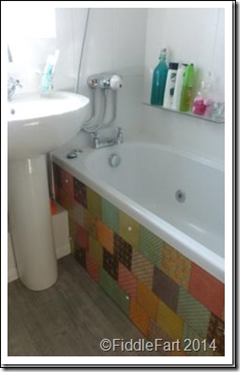
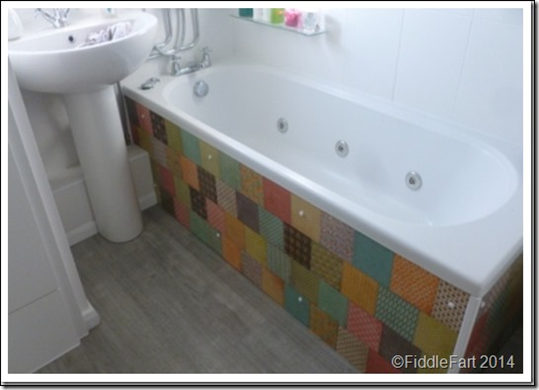
My New Bathroom and “Bespoke” Bath Panel!!

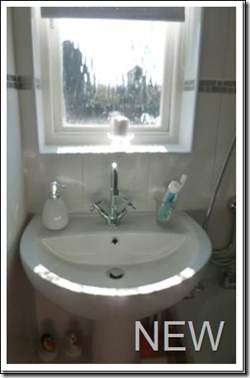
Well, the past two weeks at chez moi have been a hive on industry, with the work on my bathroom, after months of planning finally started and now completed, and if I say so myself, it looks beautiful!
bespoke bath panel 1Picture51
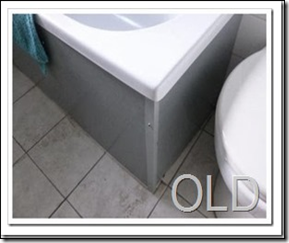
I’ll be honest my part in the proceedings were almost nil, except for the bath panel, which you’ll remember from previous posts -http://itsallfiddlefart.blogspot.co.uk/2014/01/my-bespoke-bath-panel.html  and  then buying all the little “incidental” bits and pieces to go with it, plus, more importantly making limitless cups of tea for the wonderful Ade who did all of the hard graft.
Picture48bespoke bath panel
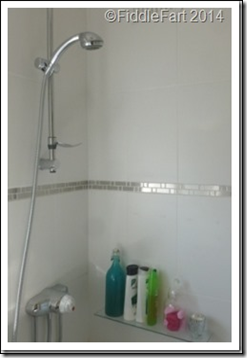
As you know, originally I dreamed of a boudoir bathroom to match my bedroom, all frou frou, and girly, but in the end, with my choice of stainless steel border tiles,  it all became very simple and streamlined ….
Picture52Picture53
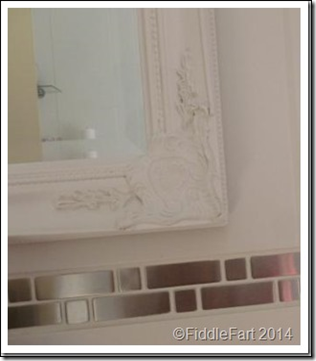
….. and less is more. My bejewelled mirror looked totally out of place and is now looking for a new home, and all the random coloured candle and tealight holders that I wanted to give the room an eclectic style have also fallen by the wayside……
Picture54
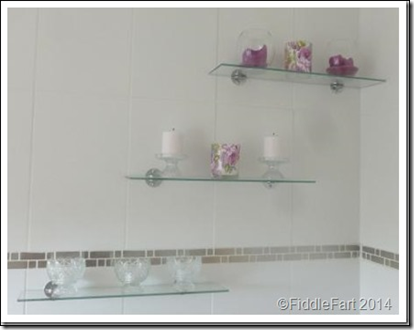
…… to be replaced by just a few plain pieces.
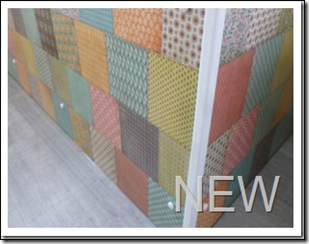
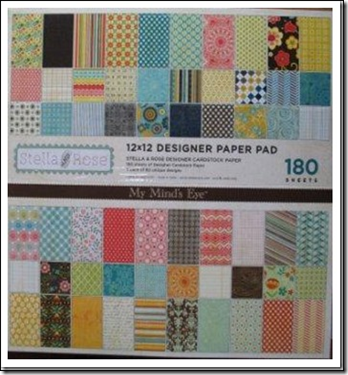
And the bath panel?  Well I think it looks wonderful, an acquired taste perhaps, but a total one off,  covered using papers from my very favourite 12” x 12” My Mind’s Eye, Stella and Rose 180 page paper pad.
Picture56bespoke bath panel 3
The panel is the main splash of colour in the room, and so I picked out certain colours from it with which to match my towels and bath mats i.e dusty blue and aubergine, sage green, a pastel yellow.
bespoke bath panel 2
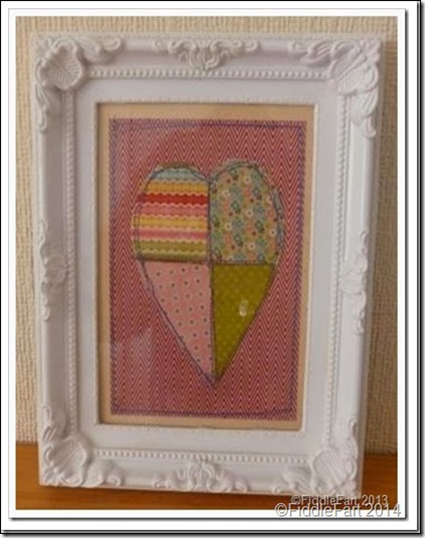
All in all I think I have gone from a boudoir to boutique bathroom!!!  The only original idea I still have left is for a cluster of the patchwork pictures on the wall nearest the loo, which I started using the same papers on the bath panel and Poundland picture frames, which are a perfect match to my new mirror, but I am not sure. http://itsallfiddlefart.blogspot.co.uk/2014/01/the-first-of-my-boudoir-bathroom.html
Picture58
Perhaps I need to live with the room as it is for a while before starting to consider cluttering up its clean lines!
Sunday 9 March 2014

Glittered Spiders

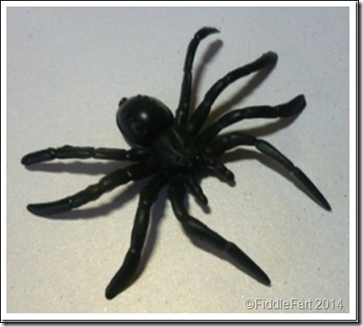
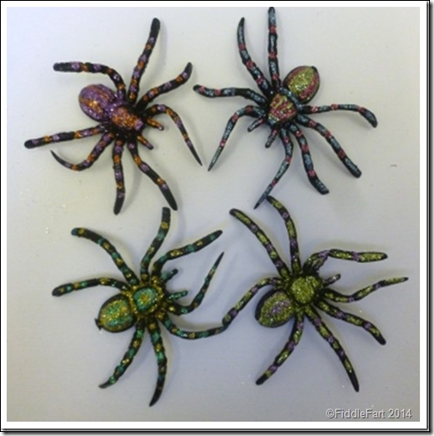
I was rootling about in one of the drawers on my desk when I found four spiders left over from Halloween ……..
Glittered spiders …………….and I just couldn’t resist glittering them!
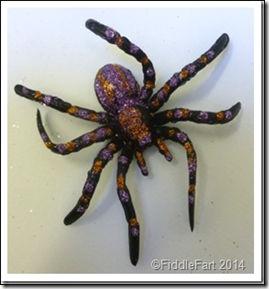
Glittered spiders 2They each measure about 3ins long, so they are quite substantial and therefore quite striking.  I used ultra fine glitters and PVA glue in a fine tip applicator bottle to glitter them up.
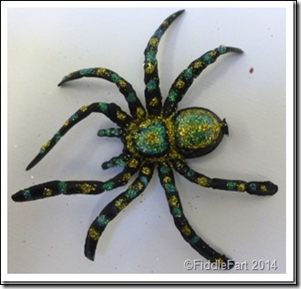
Glittered spiders 3Glittered spiders 4
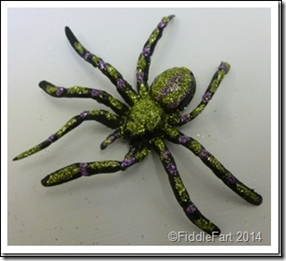
You can’t tell from the pictures but they really do sparkle and look quite beautiful, in a weird sort of way!
Glittered spiders 5Glittered spiders 6
I can’t think of an immediate use for them, but there’s another nine months to think of something before Halloween comes round again……. but I am thinking they would look good on a gothic shaped mirror ……. with a painted web and perhaps a battery operated candle or two ……… ?????

Friday 7 March 2014

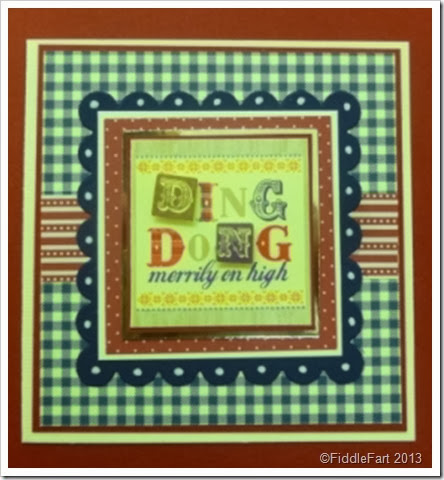
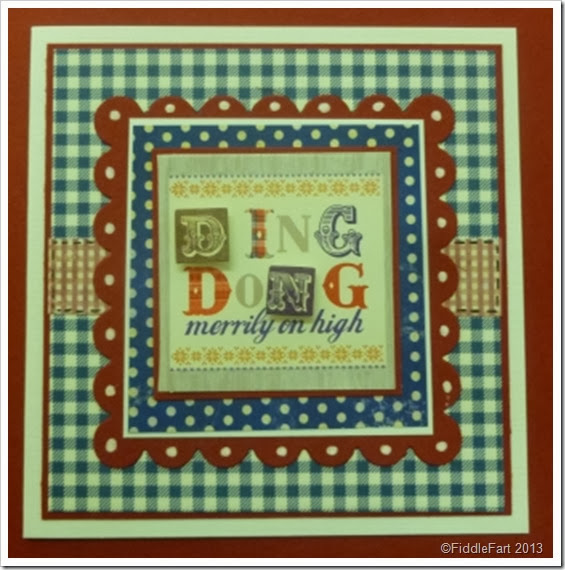
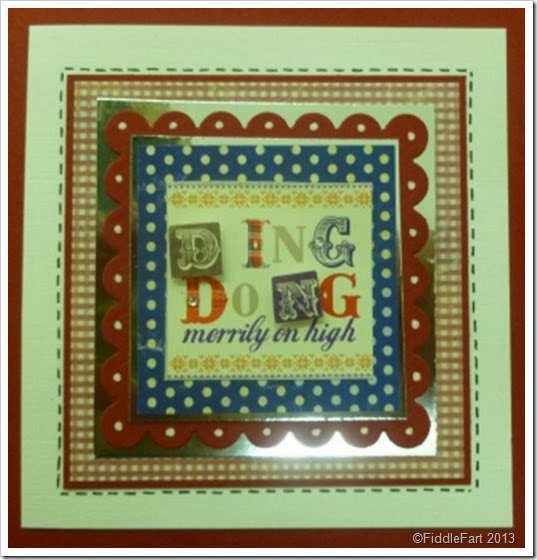
Christmas Cards for 2014 – Using Primark Gift Tags–Ding Dong Merrily …..

The hand cut card blank for each of these cards measures 5ins x 5ins and is made using a white linen effect card.
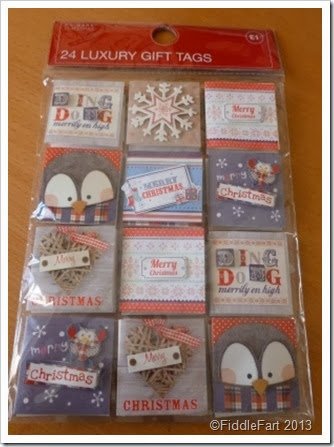
Primark Christmas Gift Tag. Ding Dong Merrily CardThe toppers for this set of cards are made using the “Ding Dong” design from a “luxury” pack of 24 gift tags (£1) from the Primark 2013 Christmas range. All I have done is cut the front off the tags and then mat and layered them on an assortment of scrap papers in matching colours and navy gingham card stock.
Primark Christmas Gift TagsThere is a very slight 3D element to the toppers which adds just a little extra  dimension to the cards.
Ding Dong Merrily Card. primark Christmas Gift TagsI have also layered using a Spellbinders scalloped edged square,a much under used die, that I have rediscovered in recent weeks
048The design has then been finished off with a bit of faux stitching using a black fine liner pen and a smattering of white dots using a white gel pen from Paperchase.  Done and ding dong dusted!!!

Wednesday 5 March 2014

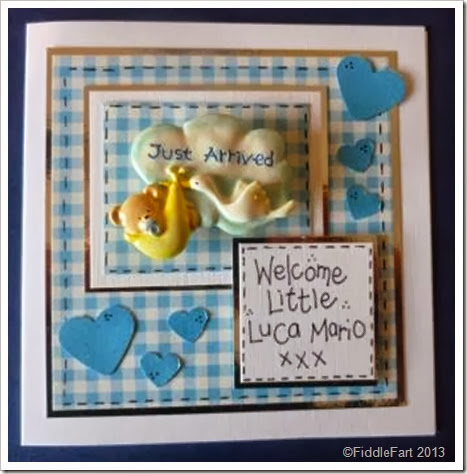
New Baby Card

This card measures 5ins by 5ins and is made using a white linen effect card.
Not a lot to this card, but I was very apprehensive when I started it, as it was the first card I have agreed to make for anyone in over a year.
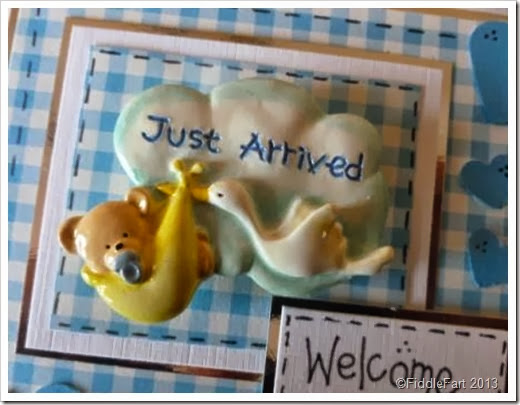
Just Arrived. New baby cardThe background paper is actually gift wrap, but as it was  a good quality one it stood the rigours of being mat and layered and the edged with faux stitching.
The embellishment is a Russ keepsake badge, one of a few I found in Home Bargains a couple of years ago ….. for just 25p each (I think they cost about £1.99 now!), so there is the option to remove it if the recipient wants to, because it is only attached it with an adhesive foam pad.
New Baby card. just arrivedThe sentiment is handwritten in my fair hand, again mat and layered on silver mirror card and finally a few matching blue punched hearts fill the empty spaces to bring the card together.
I always look out for bargain badges in my bargain shops, the one I have used here is excellent quality, they are something a bit different on a “lazy” made card but nonetheless are effective.

Monday 3 March 2014

I Saw These And Wondered …..

Birthday Numbers
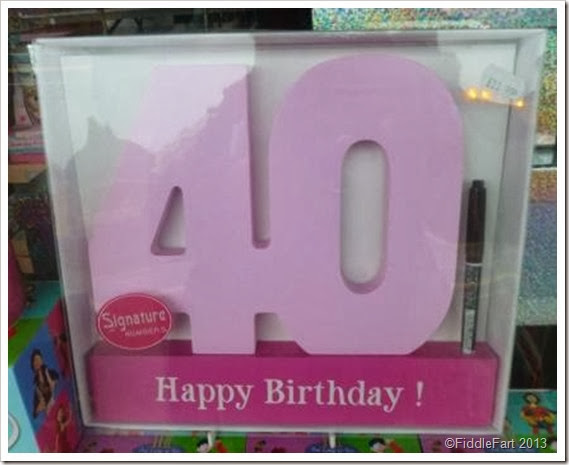
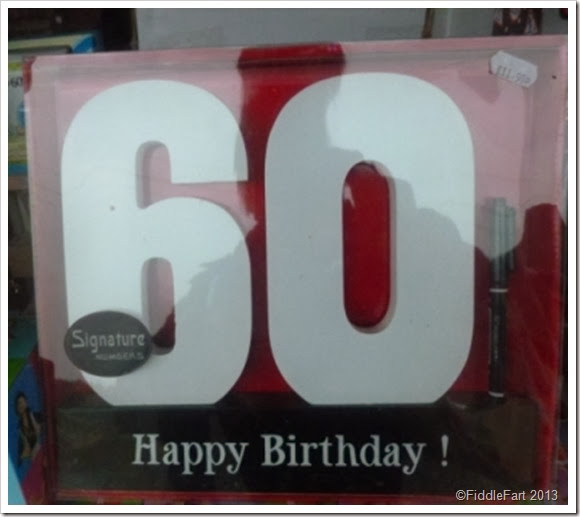
I saw these “Signature” numbers in a local gift shop and thought what a brilliant idea …… but at £11.99 they were a tad expensive …..
Signature Birthday Numbers….. and then wondered if you could make something similar using the large papier mache numbers you see in craft shops ….. with a coat of paint and base, made from perhaps a covered narrow box, and then signed by well wishers with birthday wishes with a permanent Sharpie pen ?????? 

Saturday 1 March 2014

Christmas Cards for 2014 – Heart Design

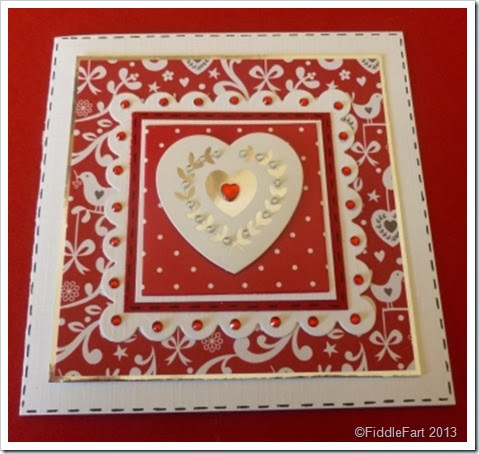
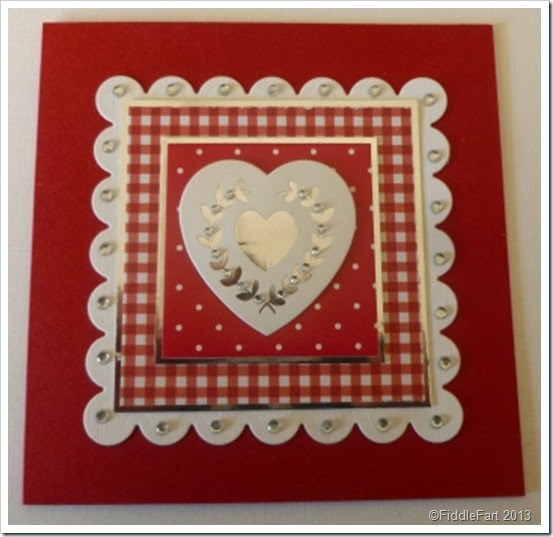
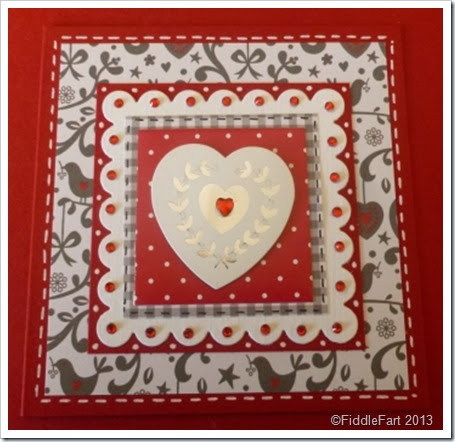
Christmas card using Wilkinsons Craft papers and foil gift tagsEach of these white or red card hand cut card blanks measure 5ins x 5ins and use either a linen effect or plain textured cardstock.
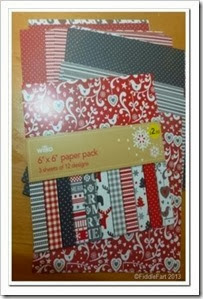
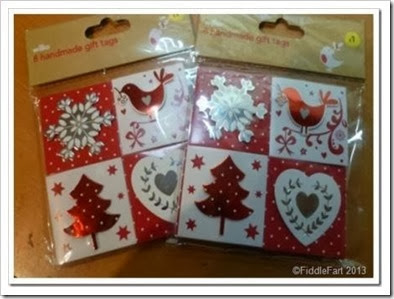
Wilkinsons. Christmas Craft Papers and Foil Gift Tags Christmas CardThe centre pieces are made using the heart design from a pack of red foil gift tags (below), with the backs cut off and papers from the 6” x 6” Christmas paper pack from Wilkinson's Christmas 2013 range, which unfortunately I just didn’t have the time to use before Christmas. 
Wilko-6-x-6-Christmas-papers_thumb9_Willko-Christmas-gift-tags_thumb7_thI I’ve also added red and clear flat back gems on the heart and scalloped edges of the Spellbinder die cut square, plus a touch of faux stitching around some of the edges, in either black or white gel pen.
Wilkinsons. Foil Gift tags and Christmas Craft Papers.There’s a lot of mat and layering going on, but I have been mindful, no matter how tempting, not to use any foam pads to add extra dimension because if posted they may not fit through the post office gauge, and so cost extra to post.
I wish now that I had given into temptation and for the sake of another £3 had bought two packs of this paper instead of just the one,as I have enjoyed using it so much, I knew at the time I would regret it, and now I am bitterly,  as I doubt I will ever see it again, so lesson learned!
http://www.wilko.com/