Monday 27 April 2015

Working With Ian Christopher

Early on in the year, Marc’s partner Ian asked if I would be interested in helping him at the January Furniture Show at the NEC, to do a bit of running and help “dress” some of the stands he had designed……. Well, it would have been rude to say no wouldn’t it, despite my not having a clue as to whether I could actually “dress” a stand” or not!
Let’s just say it was a HUGE learning curve!  I was nervous that I would be seen as a spare part that kept getting in the way or someone who just stood there without a clue, but I listened hard, double checking instructions if I didn’t quite understand first time and just tried my best!
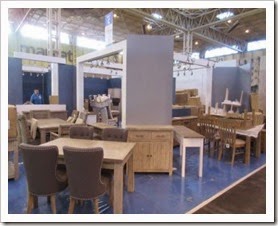
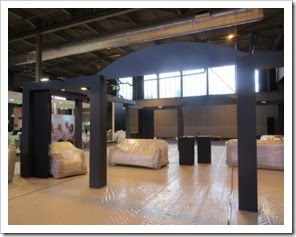
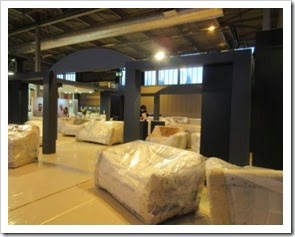
I wish I had taken more photos of the emerging stands, but let’s say by the second day I was just too busy!  However, I hope I have captured the emergence of the Rowico stand (just one of four of Ian’s stands, not including the exhibition hospitality area!)
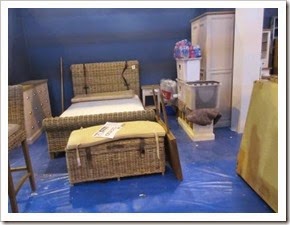
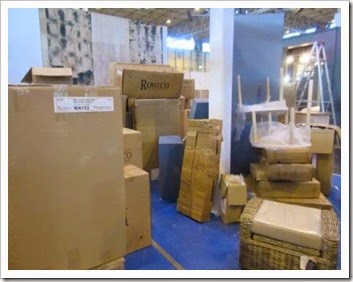
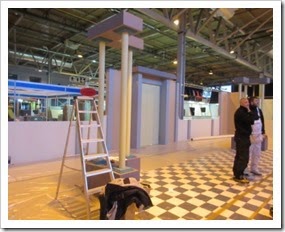
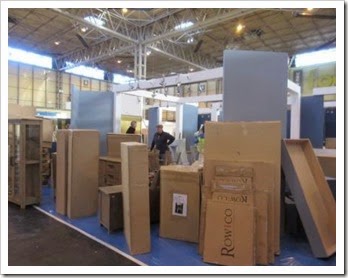
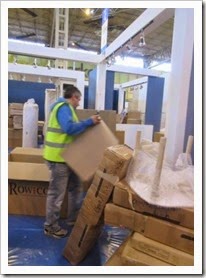
When we arrived, the stand had been built and painted, lighting in position and carpet laid (but carefully covered) all exactly to Ian’s design. All the furniture arrived in boxes, that needed unpacking and putting together …… and then putting in the correct position…….
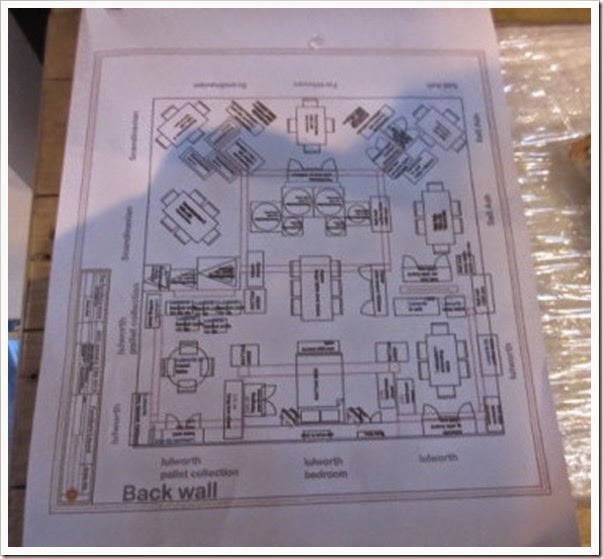
……. all again exactly to Ian’s plan, everything and I mean everything was meticulously planned and put together.
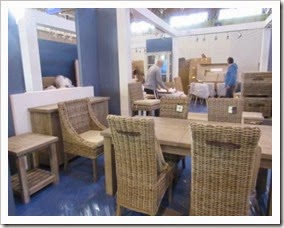
The next morning, we arrived and the stand was beginning to take shape.  It was then my turn to wipe everything down ……
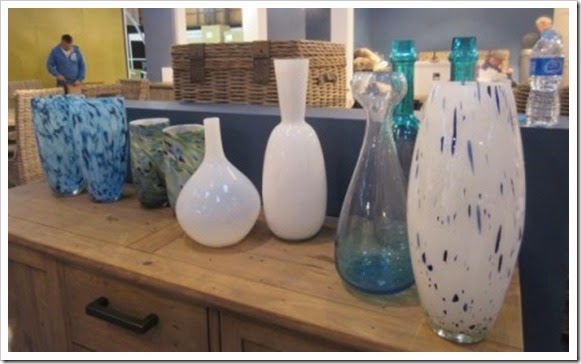
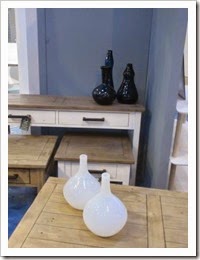
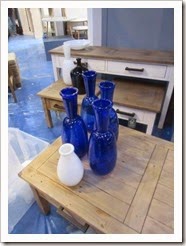
…….. and then try to place the pieces that Ian has sourced, all quite large and manly in different shades of blue and white, and in pairs or sets of three.
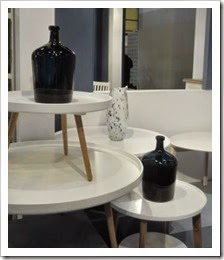
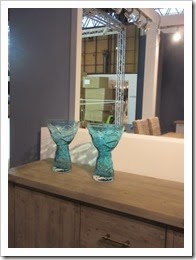
I “placed” them as best I could  ……

…… but believe me, it’s not as easy as the expert dressers make it look!!!
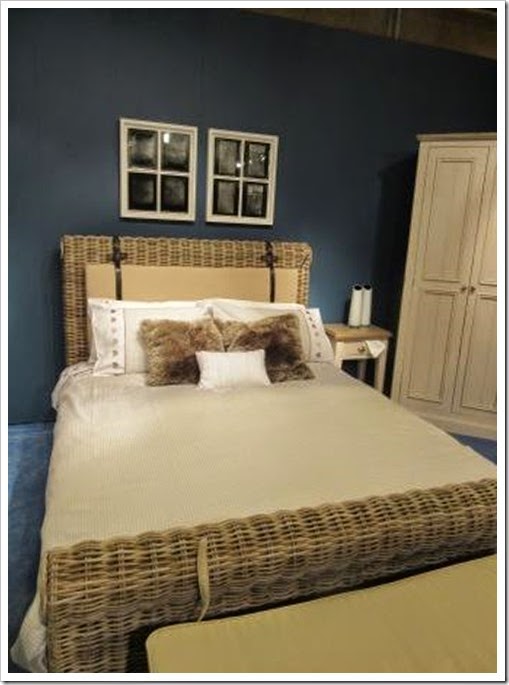
I also got to dress my first exhibition bed …….. believe me, if it took me as long to make one bed to exhibition standards at home,  I would never ever leave the bedroom!!!!  Once the stand was dressed, fresh the flowers and plants were added at the very last minute.
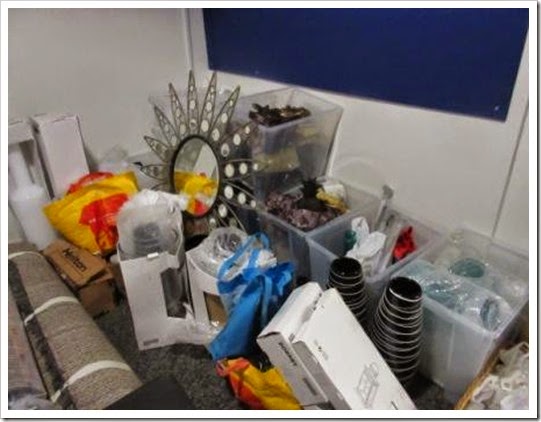
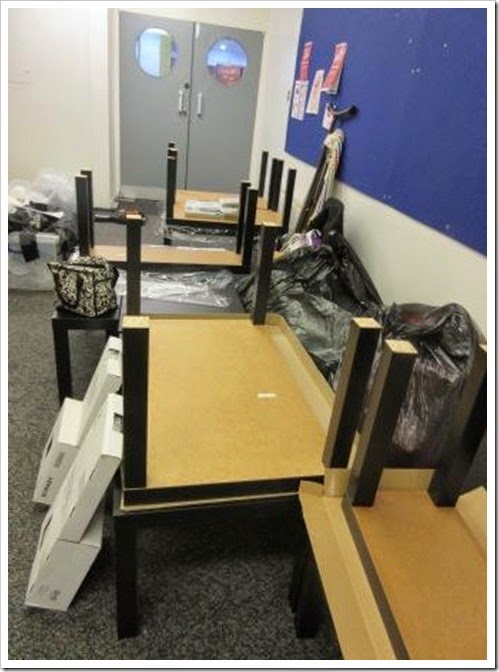
Ian was lucky to have “an office” at the NEC where he could store his props and where his sister Lynn and I could put together what seemed like 100’s of the Ikea occasional tables that were going to be used in the exhibition hospitality area.
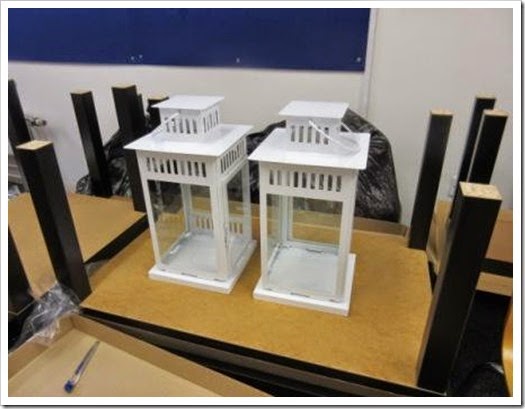
……. and I faced my demons …..  by putting together a couple of Ikea lamps that I had not bought a few months earlier for myself because they looked too difficult to put together ….. as this was business, I had to put them together!!!!
I wish I had seen the hospitality area completed ….. it was going to be a spectacular Palm Court, but it was still in it’s infancy when I had to leave.
 
I learnt so much and will now look at exhibitions with a whole new eye.  And, I did so much walking, from one side of the hall to the other, finding my way through a gigantic maze, time after time, but which seemed to change each time I went through as the stands took shape. 
I got lost so many times while getting the coffee you wouldn’t believe!  At times we all got very cold (hence the coffee runs), as they don’t put the heating on until the last minute, but I wouldn’t have missed it for the world. It’s certainly not glamorous, it’s very hard work but a wonderful experience and a glimpse into a completely different world from working in a school!!!!
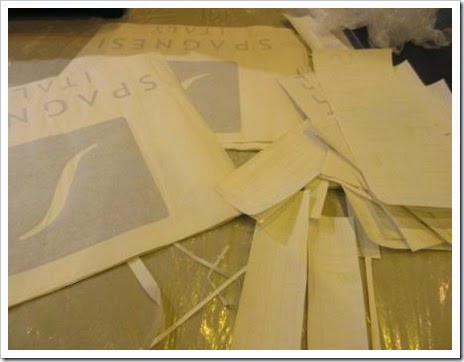
………And where you need to think on your feet., like when the decals don’t stick to the stand walls. You need to keep you clients happy as this is their showcase and when it all boils down to it, their livelihood, they need to sell their goods.  I am hoping that once I am a “free woman” Ian will ask me to help again ….. I just need to go into training about three months before the event.
Friday 24 April 2015

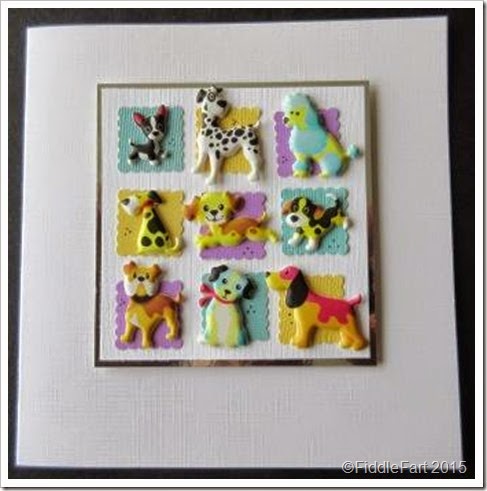
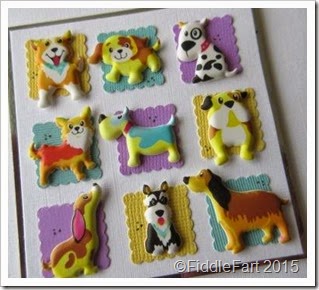
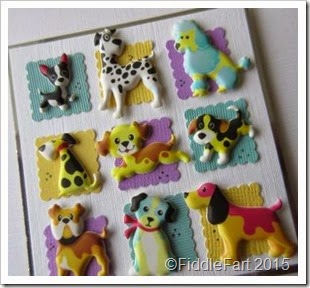
Nine Square Puppy Cards

These cards measure 5ins x 5ins and are made using a white linen effect, hand cut card blank.
These cards follow on from the cat cards I made the other week, but this time featuring puppies!

Normally I would be restrained with my sticker use to get maximum value for my money, (99p per pack), but as I said before,  I am on a mission to use all my small stickers up as quickly and as effectively as possible.

Monday 20 April 2015

A Fair Exchange

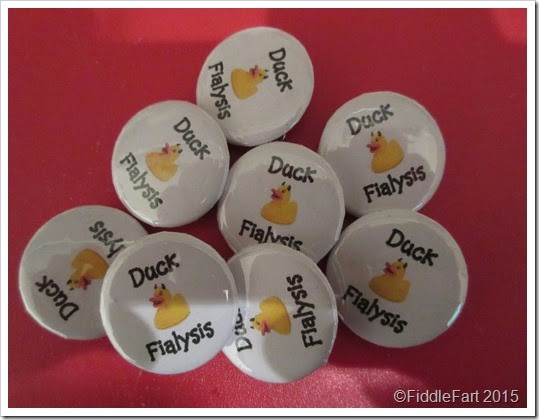
I had an e-mail from Karen, an adoptee of two of my monkeys (when I did adoptions), asking if I could make her some badges using my Bandai badge maker.IMG_0002She wanted something to not only lift her own spirits, but those of her fellow patients and nurses through gruelling dialysis sessions ….. Well, it was an absolute pleasure, and she did me a huge favour as she finally got me off my bum to buy a new printer, as mine had decided to play up something rotten, and to be honest, it was cheaper to buy a completely new printer than an expensive set of new ink, which I suspected would be rejected anyway.
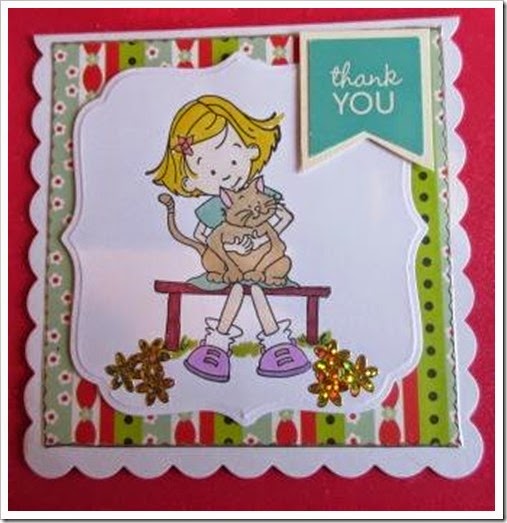
Once the badges were posted I received some more lovely e-mails from Karen telling me how well the badges had gone down and this gorgeous “Thank You” card, which I especially love as I think it will be how Iris will look when she is a little older with Jupiter, Tom and The Lovely Laura’s cat!

Friday 17 April 2015

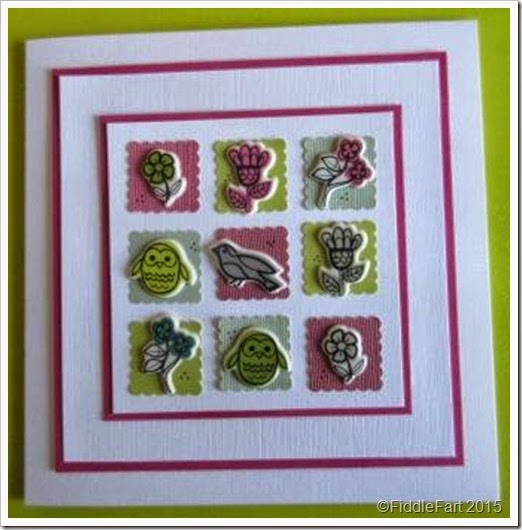
Nine Square Owl Card using Paperchase Stickers

This card measures 5ins x 5ins and is made using a white linen effect,hand cut blank.
This card follows on from Monday’s post, when I was wondering what to do with the rest of the stickers from packet of Paperchase stickers I had opened just for the tree ones …… now I am trying to use up so much of my stuff I didn’t want to put the opened pack back in the box to go unused for another year or so ……..
So to use them up ….it had to be a nine square card didn't it!!! I used my X-cut 1 inch scalloped square punch to cut out the backgrounds, to be honest the Bazzill card colours I chose were quite dull and muted, colours I would not normally choose to work with, but they work.  Marc is forever telling me that “sometimes” I have to make cards that may not be to my taste but which others will love!  I had two packets of the stickers, so after the house cards and this card I should have enough left for at least another four cards of this design …… and another small part of my stash bites the dust!

Monday 13 April 2015

New House Card

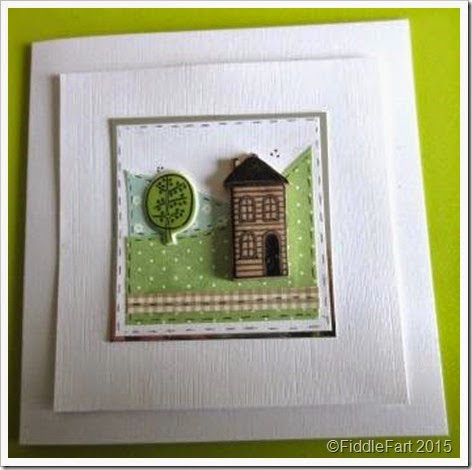
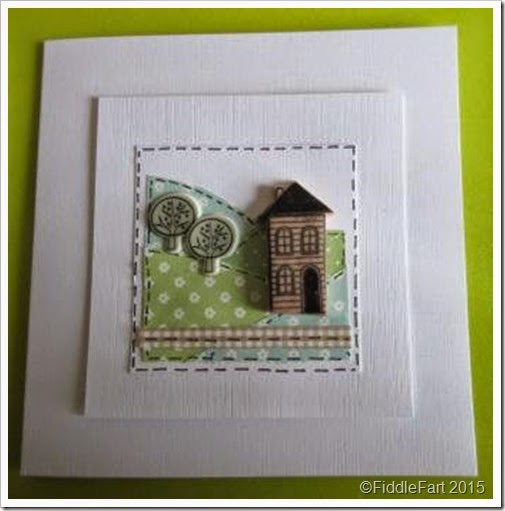
These cards measure 5ins x 5ins and are made using a white linen effect, hand cut card blank. 
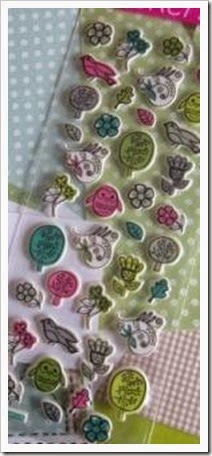
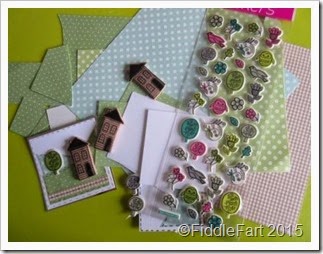
These cards use the printed Fimo house embellishments I featured a couple of posts back, scraps of paper and trees that come from a set of Paperchase stickers.
Printed fimo House embellishments[4]_thumb
I thought it best to try and use the Fimo house embellishments as soon as I could, otherwise they ran the risk of just “disappearing”. I started with the picture panel, which measures 2.5ins square, creating a “country” background using scraps of paper and faux stitching.  The panel was then mat and layered on a larger 3.5in plain square, and attached with foam stickers to the card blank for extra dimension. 
When I added the house, something was missing, there was too much space around it, and then I remembered some Paperchase stickers I had, that I thought might contain trees that could be in proportion.  They were!  I don’t usually like to mix mediums when it comes to embellishments, something about the effect jars with me,  but the trees were perfect because of their matte finish and the black outlines, which both mirrored the houses.  I had got away with it!
I am so chuffed with the results and have a few stamps that I think might also suit the same Fimo treatment.  …… And the Paperchase stickers, now I have opened the pack?  A set of nine square cards …. to follow!

Friday 10 April 2015

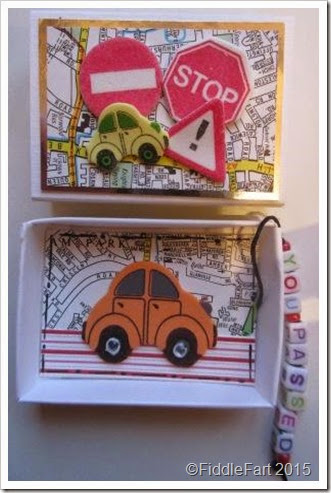
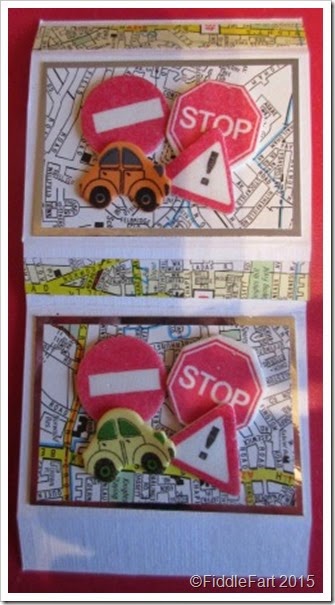
You Passed ….. Driving Test Matchbox

This box is made using the Tim Holtz matchbox die.
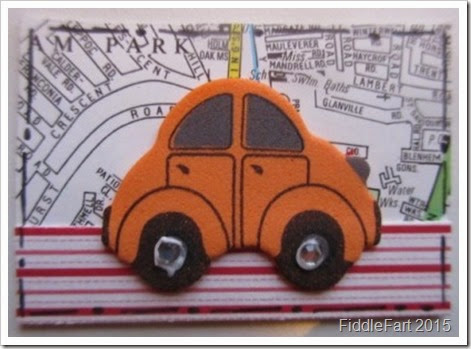
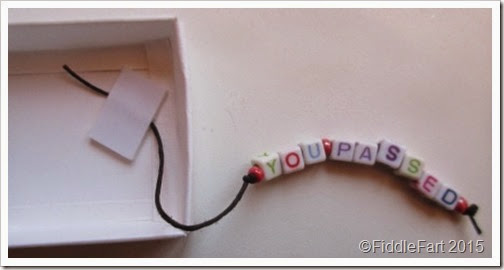
For this embellishment I used old scraps of street maps, foam car/road sign stickers (from a Poundshop) and alphabet beads. 
I decorated the sleeve of the box first …….
……. and then created a topper to go inside, sorry about the wet glue showing, and threaded the words “You Passed” in alphabet beads, the end of which I hid behind the topper when I stuck it in position.
If I could find some small chocolate cars to put in the matchbox too that would be brilliant, I remember that M & S had some a while back, but I bet they don’t have any now just because I want some!!!!!

Monday 6 April 2015

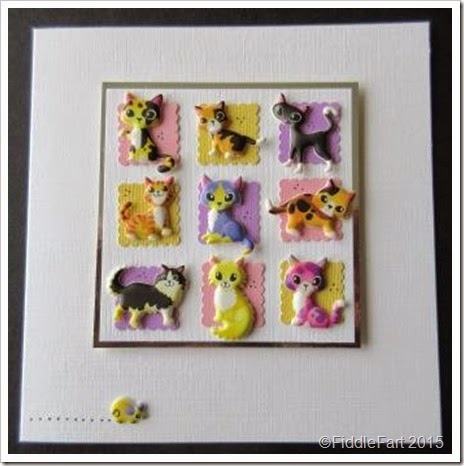
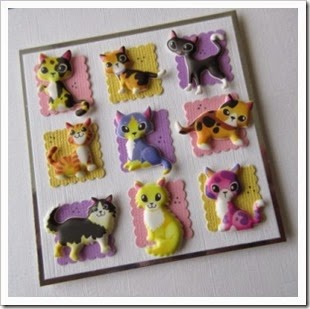
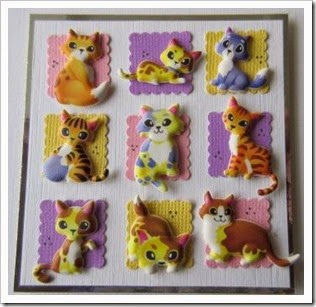
Nine Square Cat Cards

These cards measure 5ins x 5ins and are made using a white linen effect, hand cut card blank.
I am on a mahoosive mission to use all my small puffy stickers on 9 square cards, I have had them for too long now and they really NEED to be used up once and for all.  So I apologise, as you can expect to see quite a few variations on the same design in the coming weeks/months.
I have used my X-cut one inch scalloped X-cut punch to cut the pastel Bazzill backgrounds but I am afraid I just cannot remember where the puffy stickers came from, only that they cost 99p a pack and no two cats are the same.
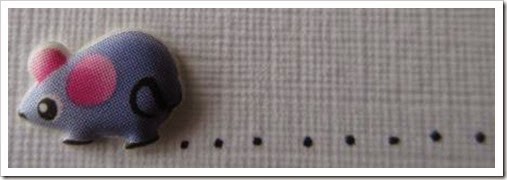
I also just love the odd few mice that were included in the packs which I used to add a little fun at the bottom of the cards.

Saturday 4 April 2015

This Is A New One On Me!!!!

I have to apologise as I just haven’t been at all Eastery project wise this year, but having said that, I haven’t seen anything that new in my usual haunts to inspire me …. but perhaps I will get my act together next year, especially with little projects to do with Iris!
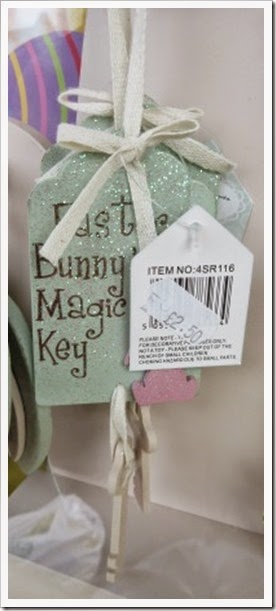
However, I did spot this in the only gift shop in our village …….. now that’s a new one on me …… an Easter Bunny’s Magic Key!!!

Friday 3 April 2015

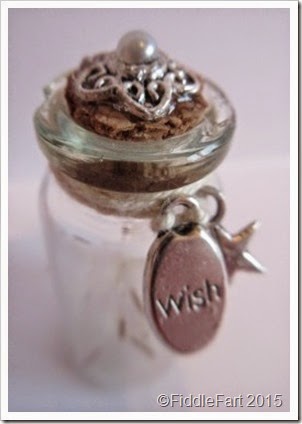
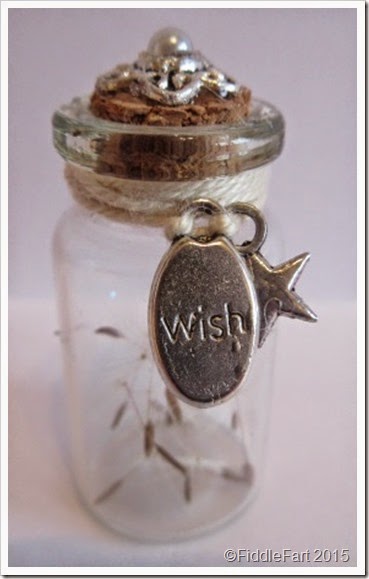
Dandelion Seed Wish Bottle

Sometimes I come back to things years after I first made them.
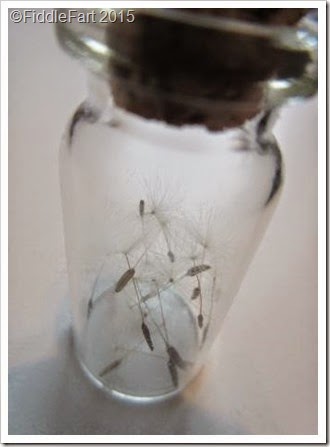
I remember desperately wanting to make some wish bottles by putting dandelion seeds inside them but was very disappointed with the results, as you could hardly see the seeds …..
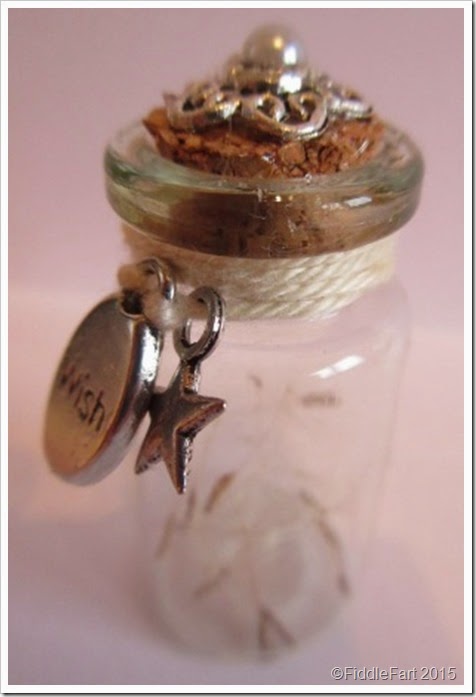
…… however, after a couple of years on my shelf, the seeds have now dried to give the effect that I was initially looking for, but which still proves to be almost impossible to capture using my humble camera.I have wrapped a length of cream cotton thread round the top of the bottle, adding a silver wish and star charm…………… and stuck a silver spacer bead on the cork using a flat backed pearl to cover the hole.
I think perhaps now I should have put an eye in the middle of the spacer and a thread so that it could be hung up, put on a keyring or even worn,  maybe next time.
Now I am all enthused,  I need to collect more dandelion clocks, but need to find a much faster way to dry them!!!